Add cluster
Learn how to add a cluster to an Exasol SaaS database.
Adding more clusters to a database is also referred to as horizontal scaling. You can add 2 additional clusters for a total of 3 clusters. If you need more than 3 clusters, click on Help > Support in the web console to open a support request.
To learn more about scaling, see Database scalability.
Prerequisites
-
You must be logged in as a user with the
Owner
role -
The MAIN cluster must be running
Procedure
-
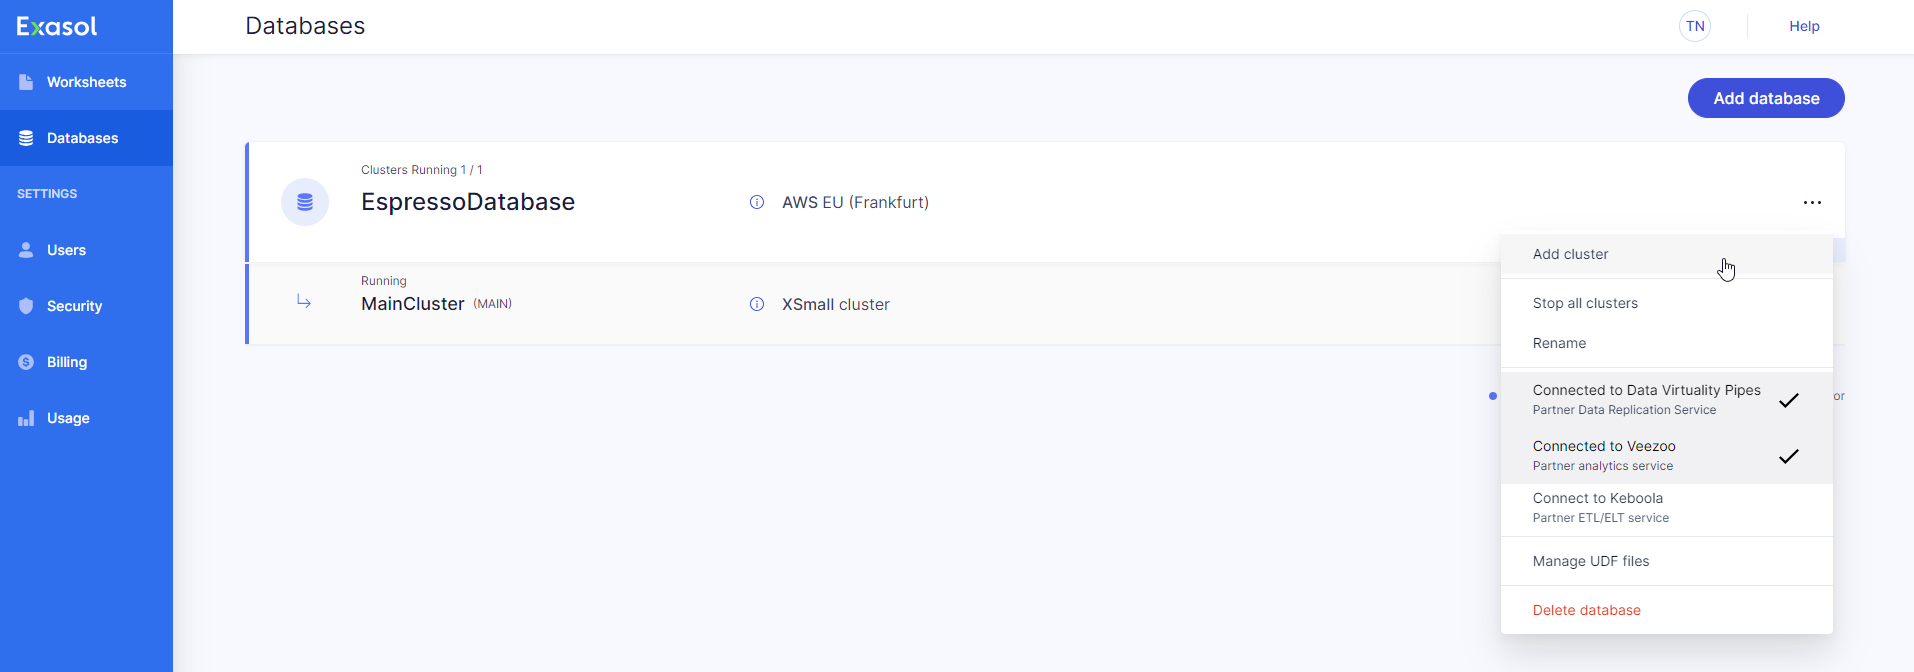
On the Databases page, click on on the database and select Add cluster from the dropdown menu.

-
In the Add cluster dialog, enter a unique name for the new cluster. The name can consist of lowercase and uppercase letters a-z/A-Z, numbers, hyphens, dots, and underscores (_).
-
Choose an instance type for the cluster from the dropdown menu.
Verify that the estimated hourly, weekly, and monthly cost for your cluster meets your expectations. If needed, change the cluster size to see the new estimated cost.
The optimal cluster size for an Exasol database is based on usage patterns. As a rule of thumb, start with a RAM size that corresponds to about 10 percent of the size of your raw data.
Depending on your workload, you may need a larger cluster size to use additional CPU and memory. Sometimes, a smaller cluster may however also meet your requirements and be more cost effective. You can dynamically test which size best fits your needs by resizing a cluster.
-
Click on Auto-Stop Settings > Change to change the timeout value for the cluster auto-stop function or to disable the function.
You can change this setting at any time. For more information, see Auto-stop settings.
Disabling the auto-stop function may result in increased cloud resource usage.
-
Change the Auto-Scaling settings as desired to enable offloading to the new cluster.
For more information about the auto-scaling feature, click on the
 icon, or see Session offload.
 -
Click on Add cluster to add the cluster to the database, or click on Close to cancel the operation.