File Management
This article explains how to upload and manage files that can be used in UDFs in your Exasol SaaS database.
You can also upload and manage files using the REST API. For more information, see REST API.
Upload file
-
On the Databases page in the web console, open the database dropdown menu and select Manage UDF Files.
-
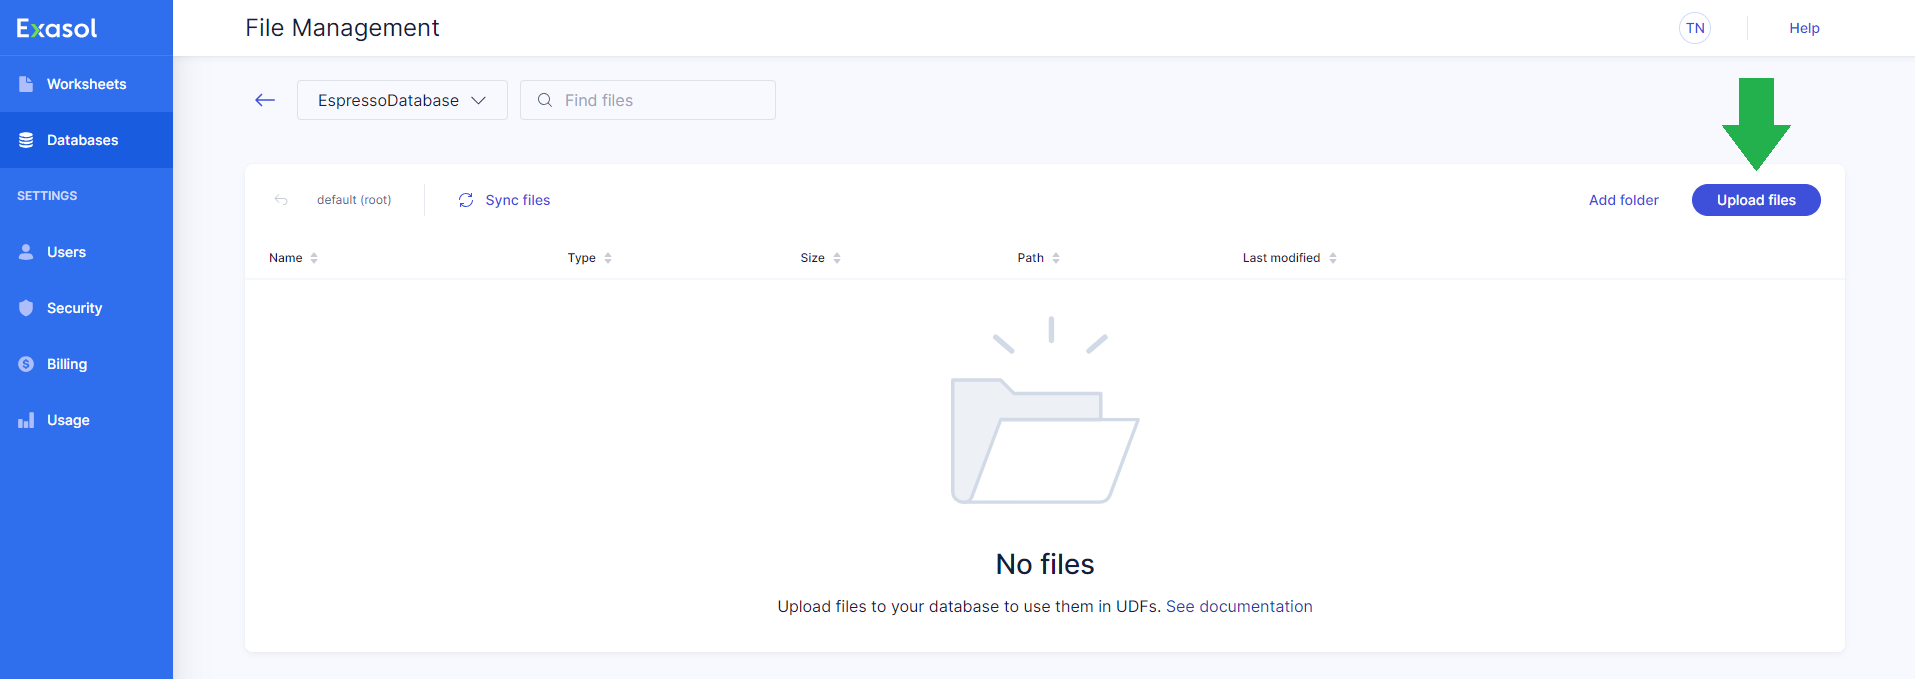
On the File Management page, click on Upload files
-
Drag and drop the files that you want to upload into the browser window, or click on Browse to select the files in your local file system, then click on Upload to start the upload process. You can select multiple files and upload them in a single operation.
When the files have ben uploaded they will be visible in the file manager.
-
You can create a folder structure to organize your files. To create an empty folder, click on Add folder. Give the folder a name, then click on Create folder. The maximum length of the folder name is 50 characters.
Delete file or folder
To delete a file or folder from the file system in your database, do the following:
-
On the Databases page in the web console, open the database dropdown menu and select Manage UDF Files.
-
On the row for the file or folder, click on the dropdown menu and select Delete file.
-
Click on Delete to confirm, or click on Close to cancel the operation.
Deleting a folder will also delete all the files inside that folder.
Refresh the file list
When you add or delete files or folders using the web console, the file list will be updated immediately. If you add or delete files through the REST API, the changes will not be immediately visible in the web console.
In this example. the folder my_rest_folder was created using the REST API. To refresh the file list in the web console, click on Sync Files.
After syncing files, the folder my_rest_folder is shown in the web console.
For more information about how to add files and folders using the REST API, see REST API.
Copy the file path
To copy the full path to a file or folder to your clipboard, click on Copy UDF path.


