Add Oracle Instant Client (SaaS)
Learn how to add Oracle Instant Client to your Exasol SaaS system.
Exasol can exchange data with Oracle databases through Oracle Call Interface (OCI) using Oracle Instant Client. You can upload the client using the File Management page in Exasol SaaS. You must first create a folder in the file system to store the client.
Prerequisites
You must be logged in as a user with the Owner
role.
Download the compatible version of Oracle Instant Client to your local machine.
Oracle Instant Client 12.1.0.2.0 is currently the only version of the client supported in Exasol SaaS. You can download this version from the Oracle Instant Client Downloads page.
Upload Oracle Instant Client
-
On the Databases page in the web console, open the database dropdown menu and select Manage UDF Files.

-
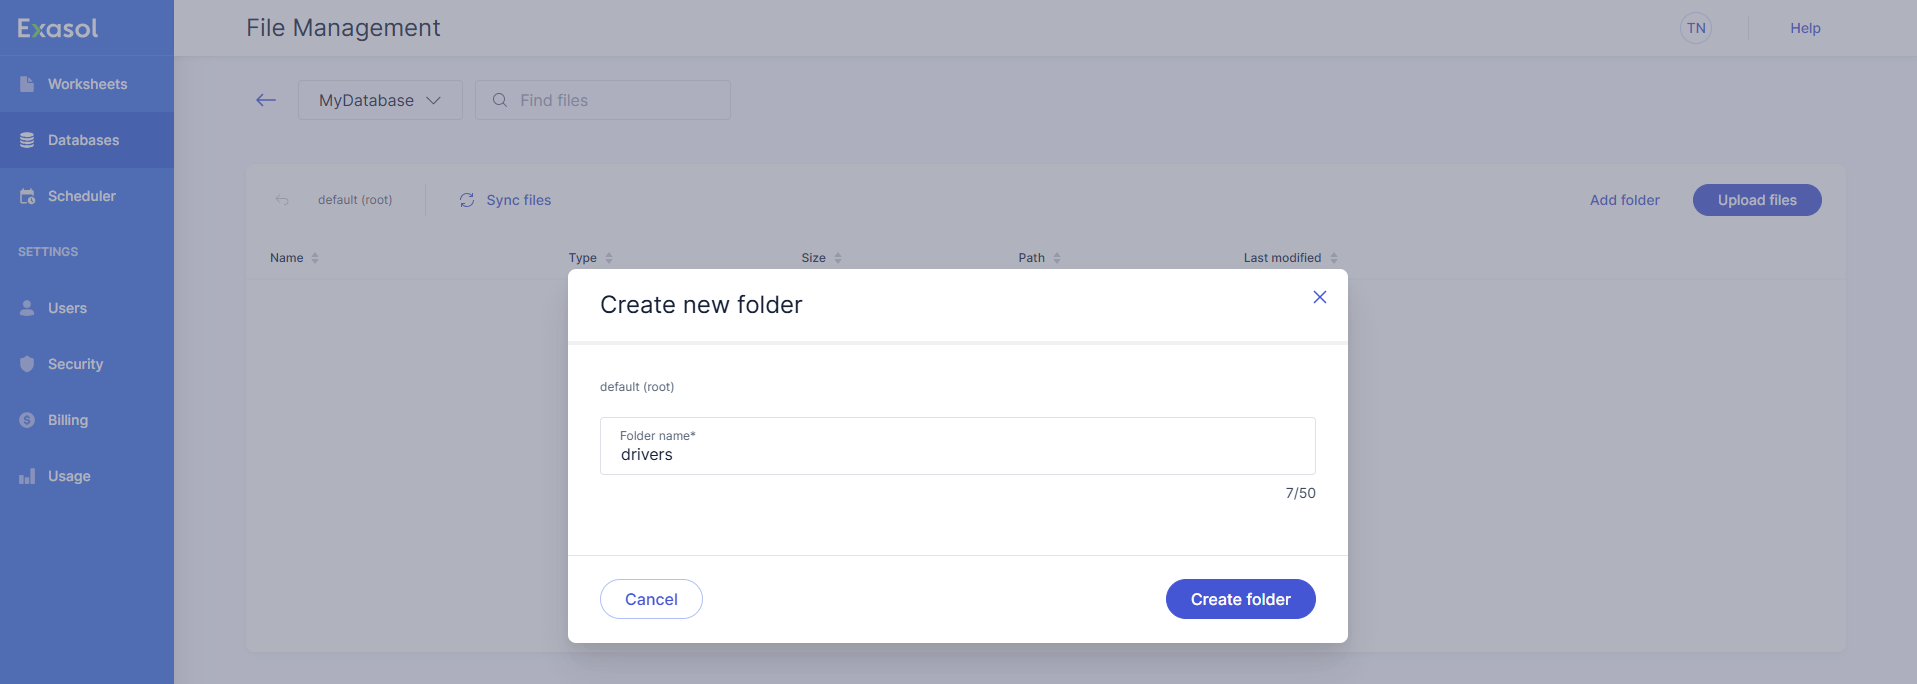
On the File Management page, click on Add folder and create a folder with the name
drivers
.
-
Select the
drivers
folder and click on Add folder to create a child folder inside it with the nameoracle
.
-
Select the
oracle
folder, then click on Upload file.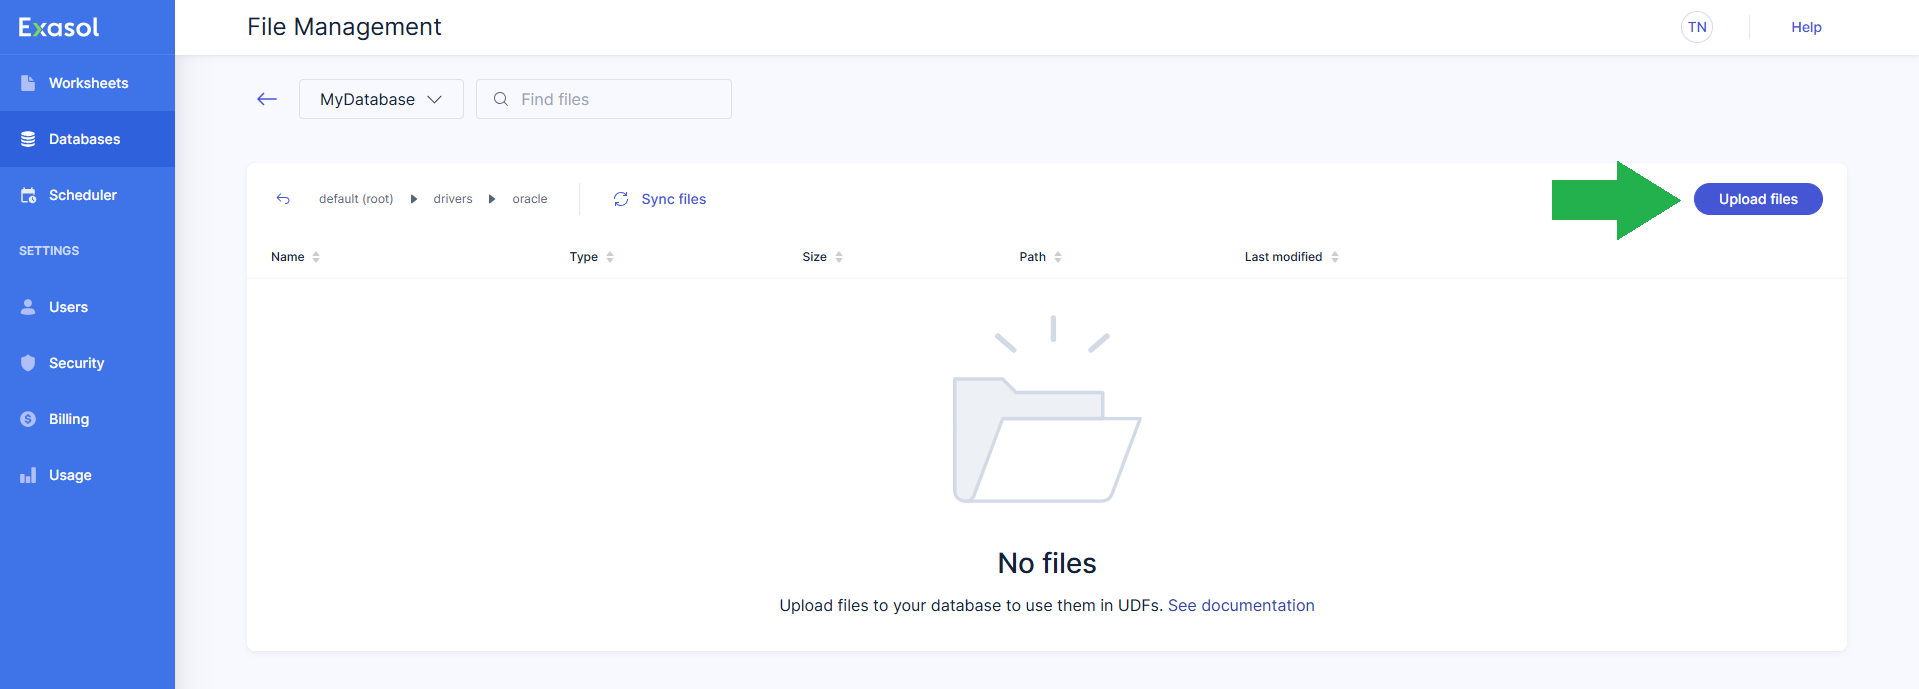
-
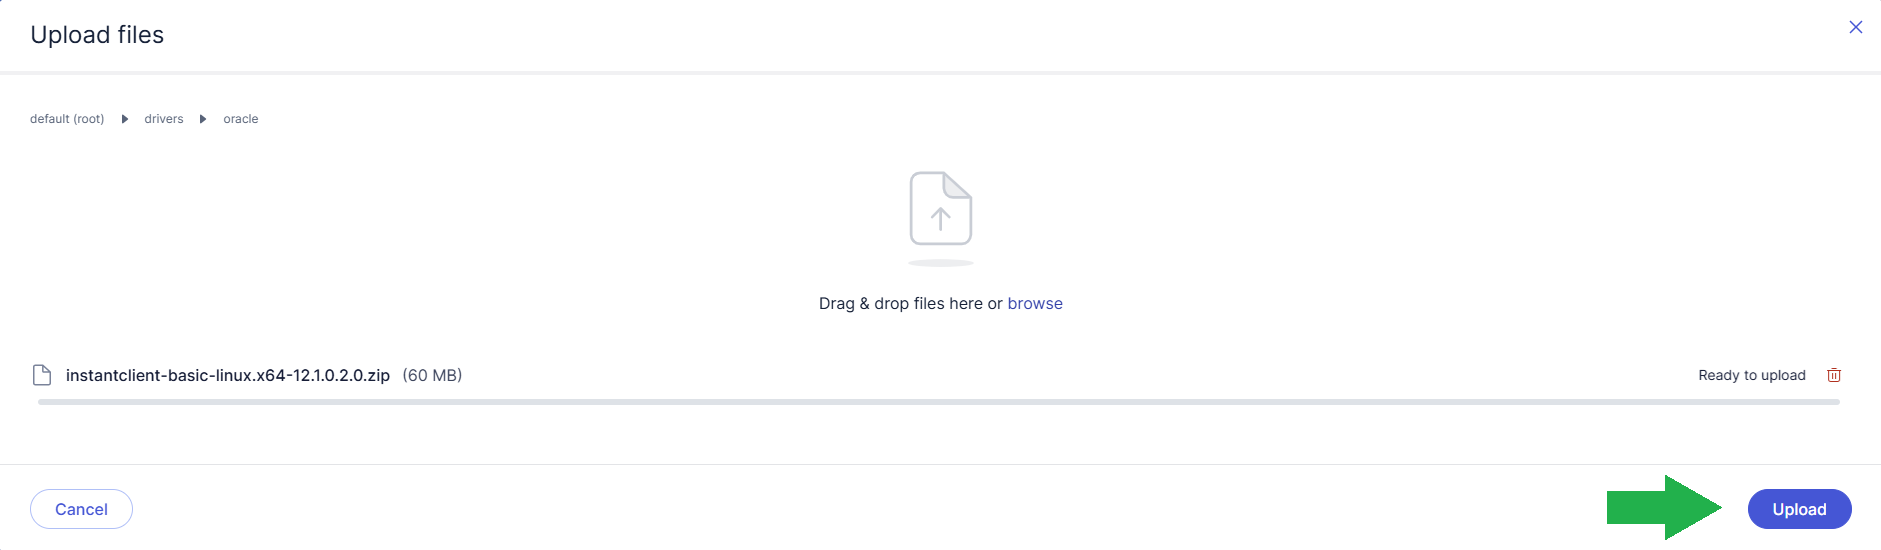
Select the Oracle Instant Client file on your computer to add it to the Upload files dialog, then click on Upload to upload it, or click on Cancel to abort the upload.
-
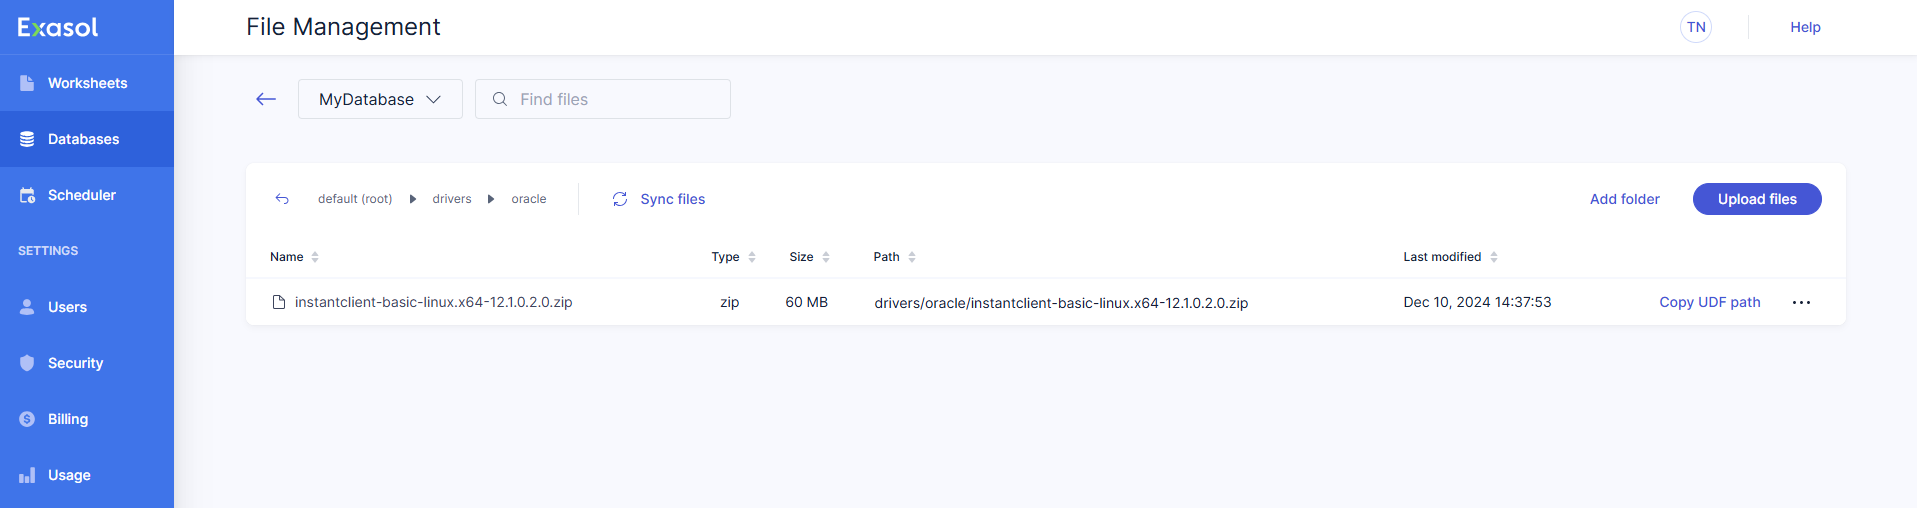
Verify that the client has been added to the file system.