Manage Exasol SaaS users
Learn how to manage users in an Exasol SaaS organization account.
The Users page in the web console provides an overview of the users in the account, including their contact information, roles, and the databases to which they have access. If you have the Owner role, you can invite new users and edit or remove users on this page.
Invite a new user
You must have the Owner role to invite users.
-
On the Users page, click on Invite user.
-
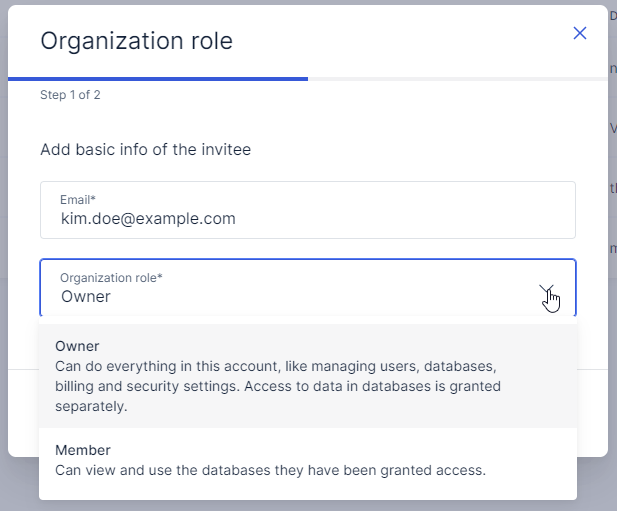
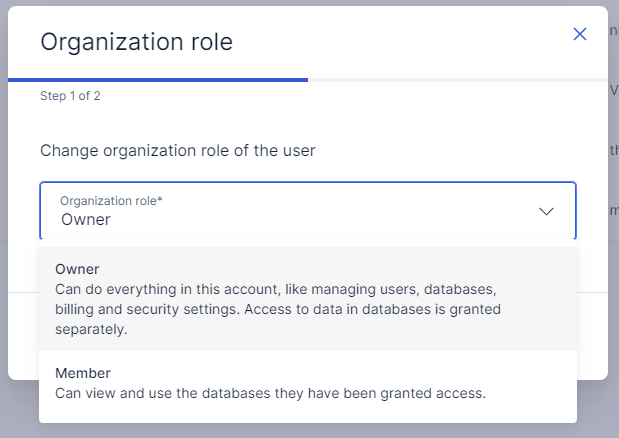
In the Organization role dialog, enter a valid email address for the user and select an organization role (Member or Owner), then click on Next.
-
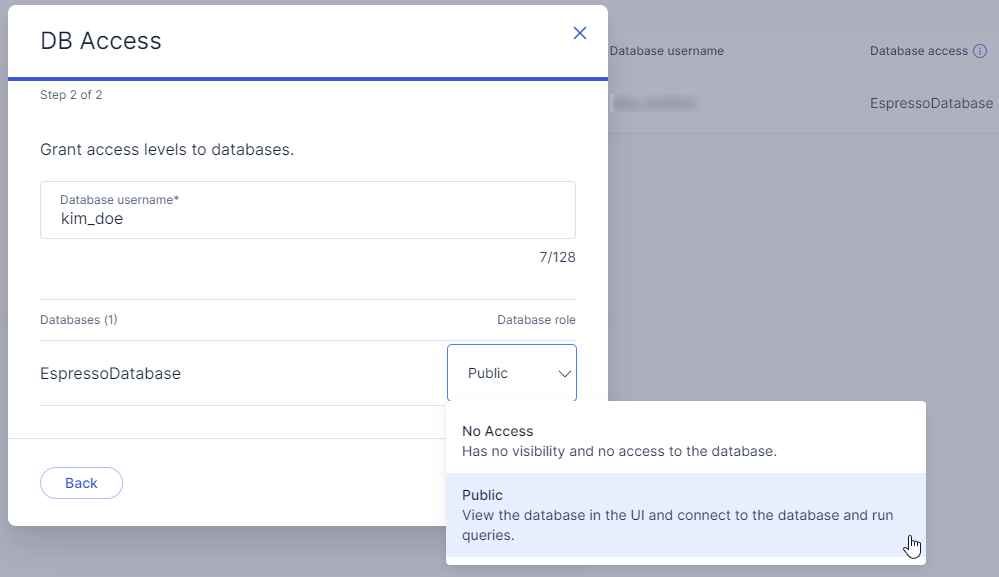
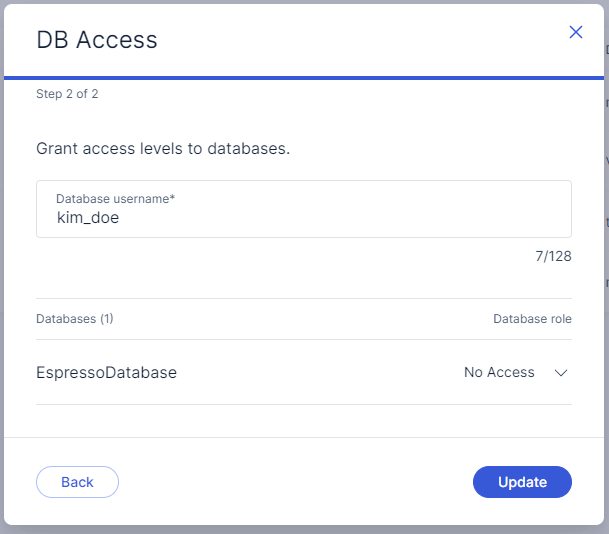
In the DB Access dialog, enter a unique username for the invited user. A database user with this name will be created on each database that you specify in the next step.
-
Select the Public role on each database that the user should be able to access. Additional privileges must be granted using SQL (see below).
-
Click on Invite to close the dialog and send the invitation, or click on Back to go back to the Organization role step.
The user will receive an email with a link to accept the invitation and complete their profile.
Grant additional privileges
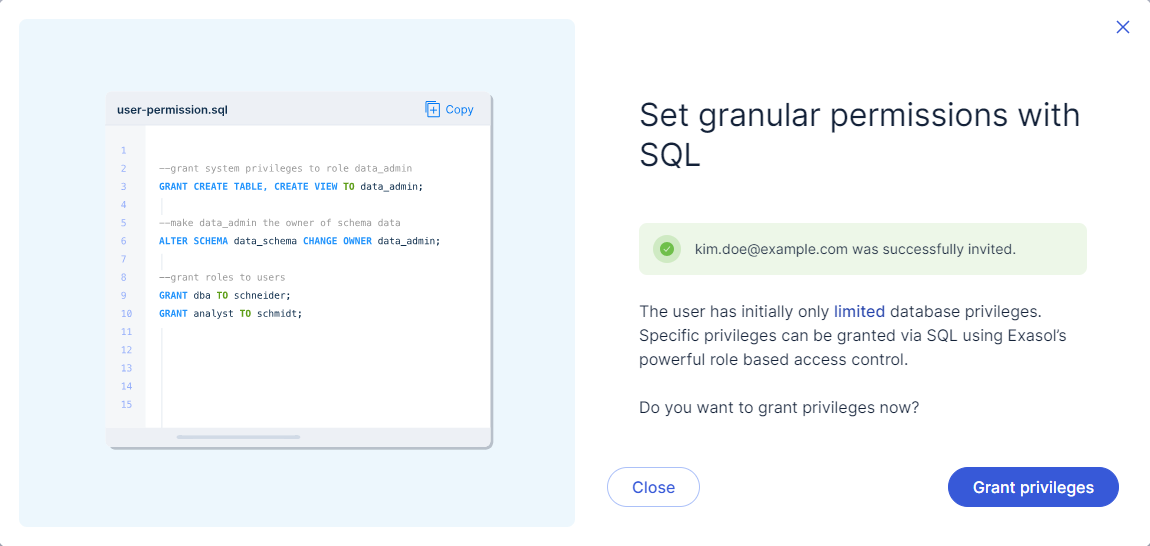
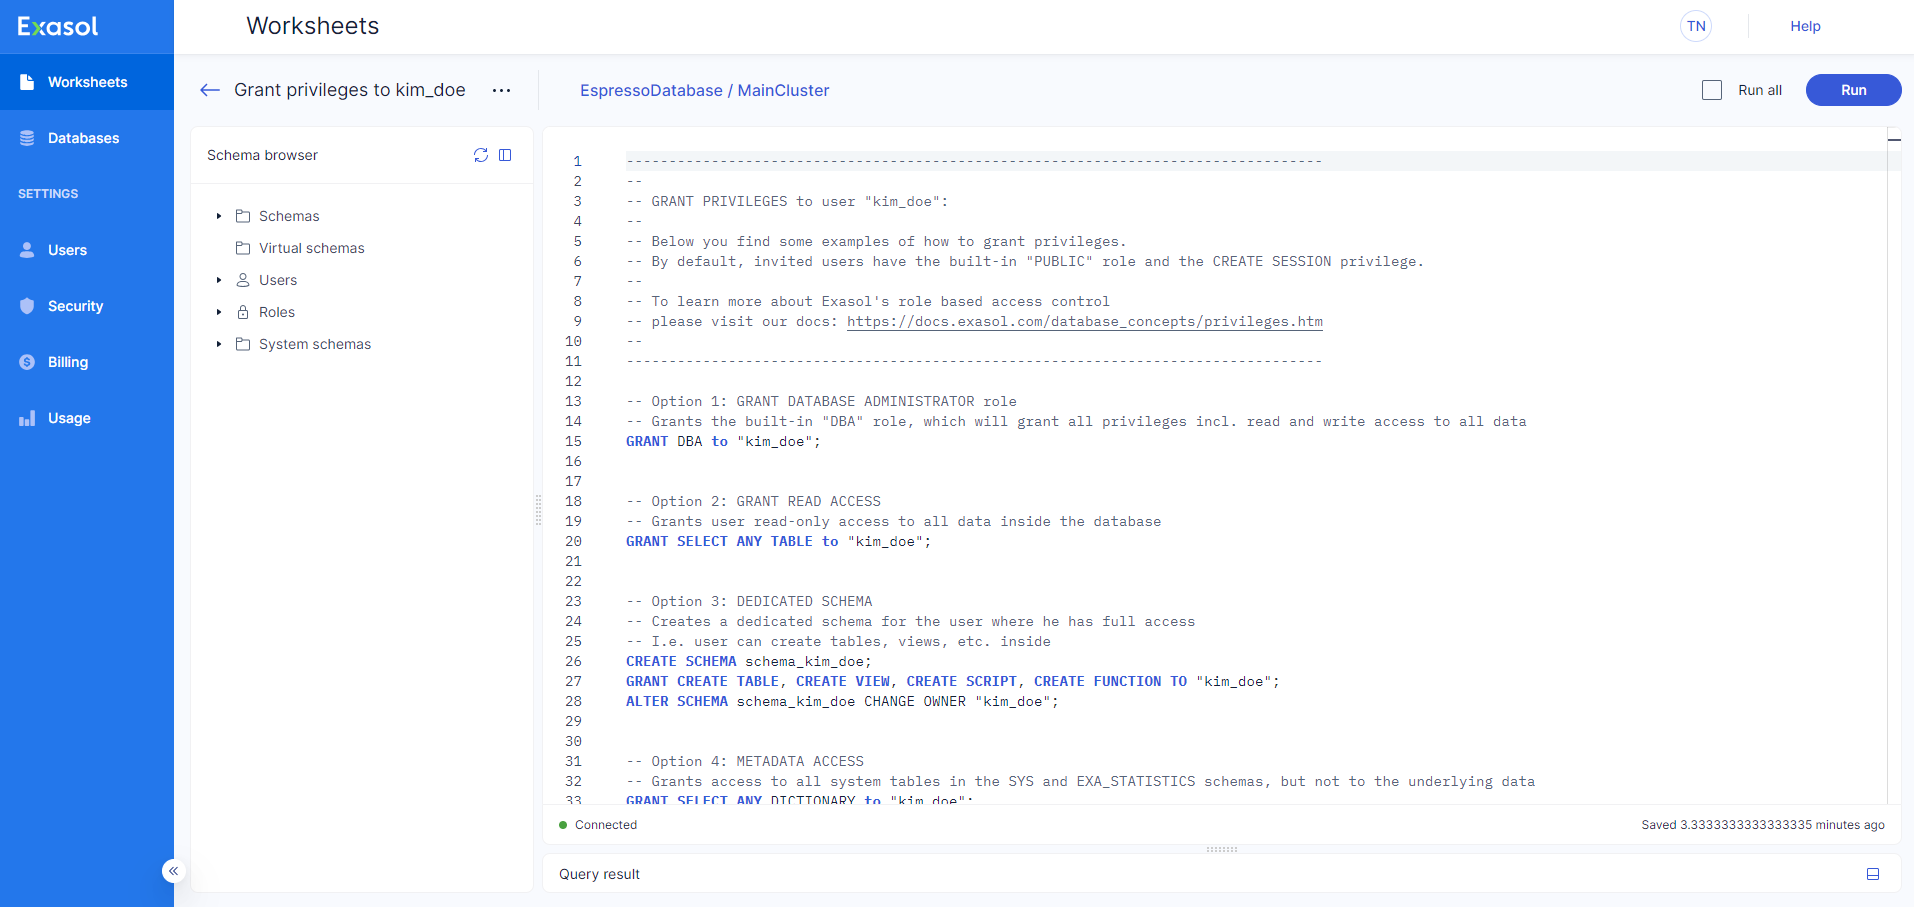
When you have created the invitation, you will be asked to grant additional privileges using an automatically generated worksheet that can be edited as needed. You can do this step immediately after sending the invite or at a later time as you wish. You can also delete the auto-generated worksheet and grant privileges in a new worksheet or using an SQL client.
Manage invitations
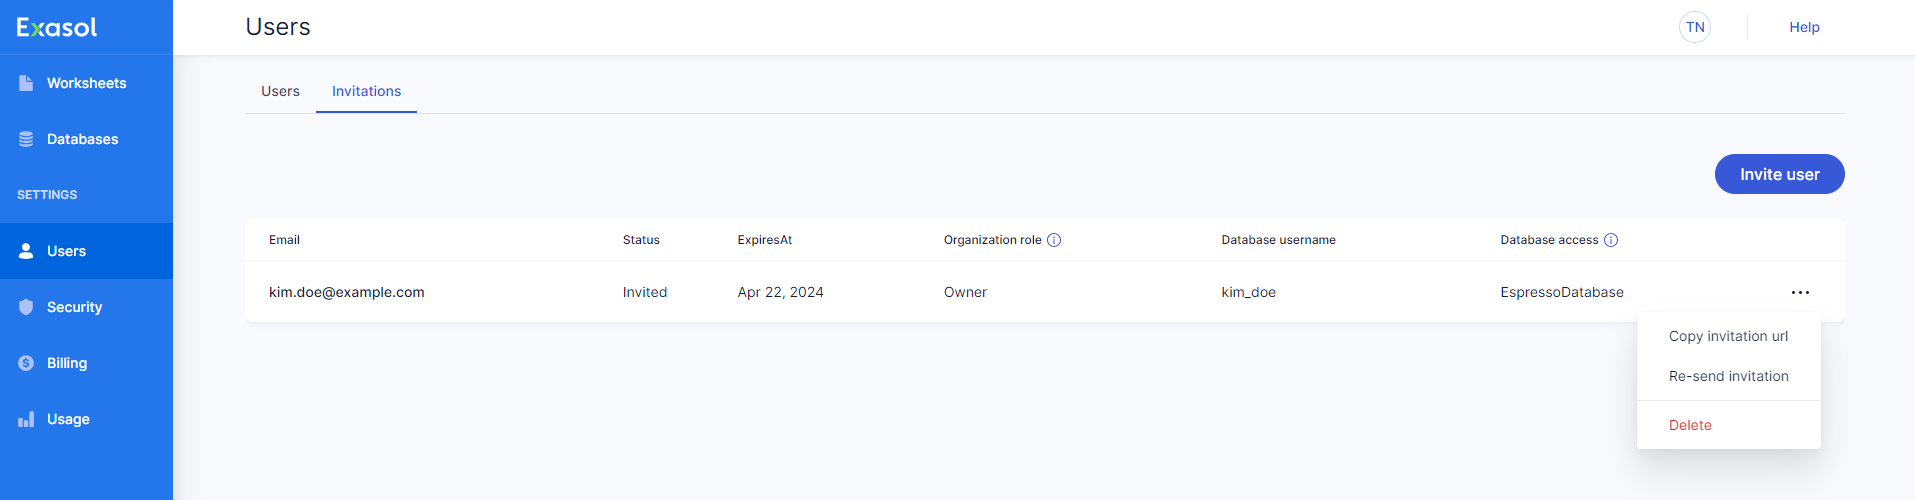
Invited users are listed under the Invitations tab until they have accepted the invitation and completed their profile.
You can copy the invitation URL, resend the invitation, or revoke the invitation using the dropdown menu for each pending invitation.
Edit users
You must have the Owner role to edit users.
As an account owner, you can change the web console role and database access for all users in the account.
-
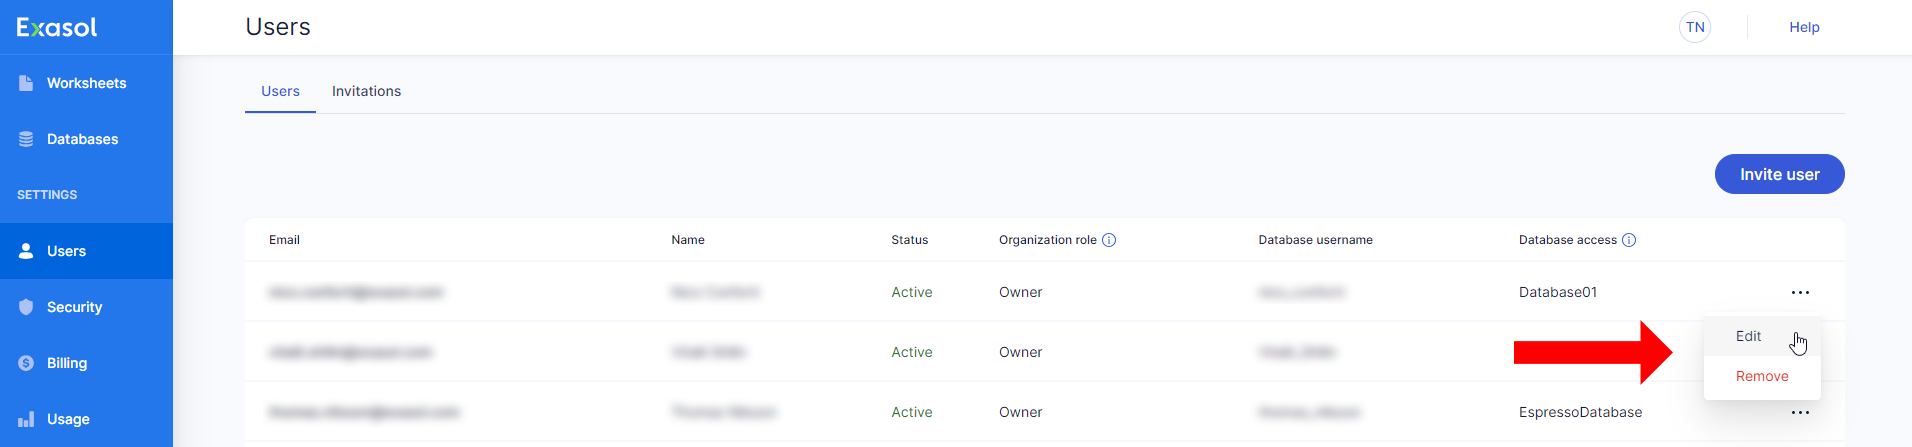
On the Users page, click on ... on the user that you want to edit and select Edit.
-
Select the organization role that the user should have, then click on Next.
-
Select the desired role for the user on each database.
-
Click on Update to apply the changes, or click on Back to go back to the Organization role step.
Removing access to a database for a user will also delete the corresponding database user in that database. To prevent data loss, if the user was the owner of any schemas in the database, the schema owner is automatically changed to SYS before the user is dropped.
Users with the DBA role can also change the schema owner as needed.
Remove users
You must have the Owner role to remove users.
As an account owner, you can remove a user from the account. To remove a user, do the following:
-
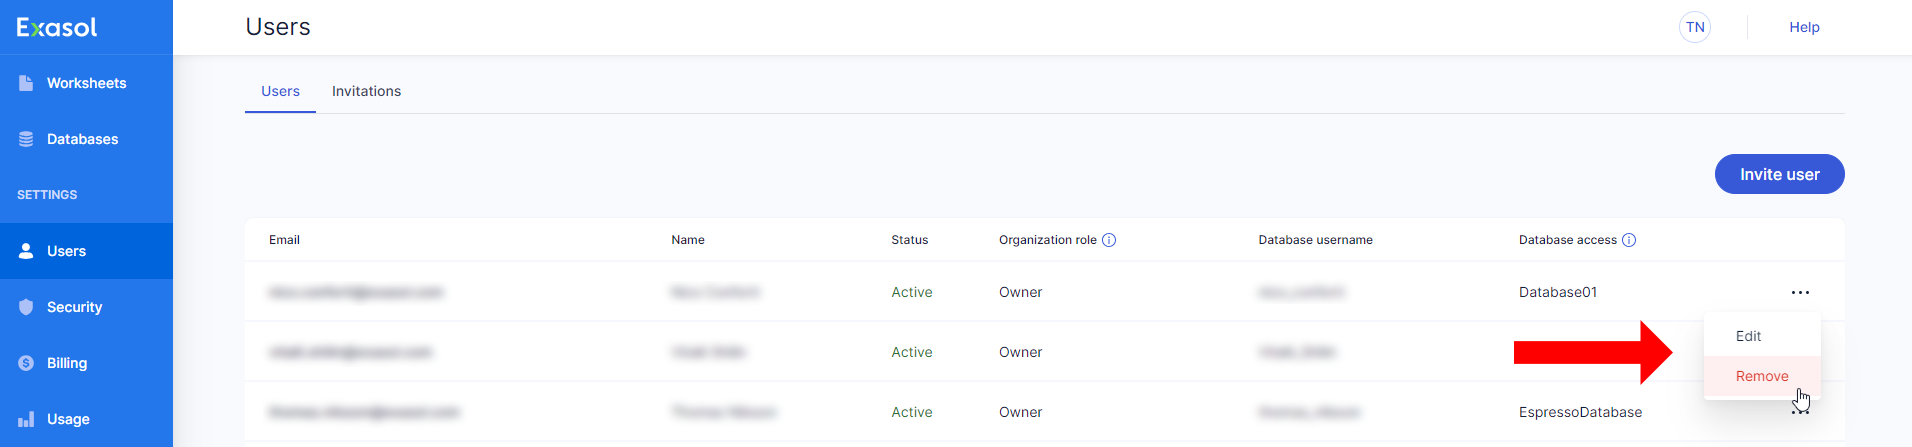
On the Users page, click on ... on the user that you want to edit and select Remove.
-
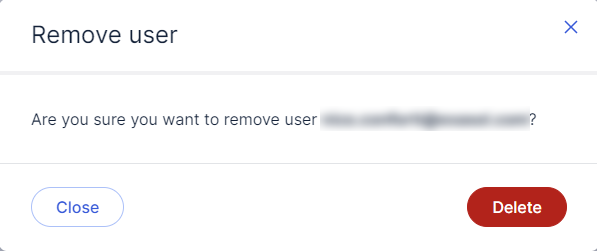
Click on Delete to confirm that you want to remove this user from the account, or click on Close to cancel the operation.
Deleting a user will also delete the database user in the databases that the user had access to. To prevent data loss, if the user being deleted was the owner of any schemas in a database, the schema owner is automatically changed to SYS before the user is dropped.
Users with the DBA role can also change the schema owner as needed.