Generate support archive in Exasol Admin
Learn how to generate an archive with logs and system information in Exasol Admin.
In on-premises deployments of Exasol 2025.1 and later you can use Exasol Admin to create an archive with logs and other information to include with your support case. For other versions of Exasol you must use EXAsupport to collect the information.
Prerequisites
-
The database version must be Exasol 2025.1 or later.
-
Exasol Admin must be enabled.
-
The database must be running.
Generate logs and system information
-
Log in to Exasol Admin.
-
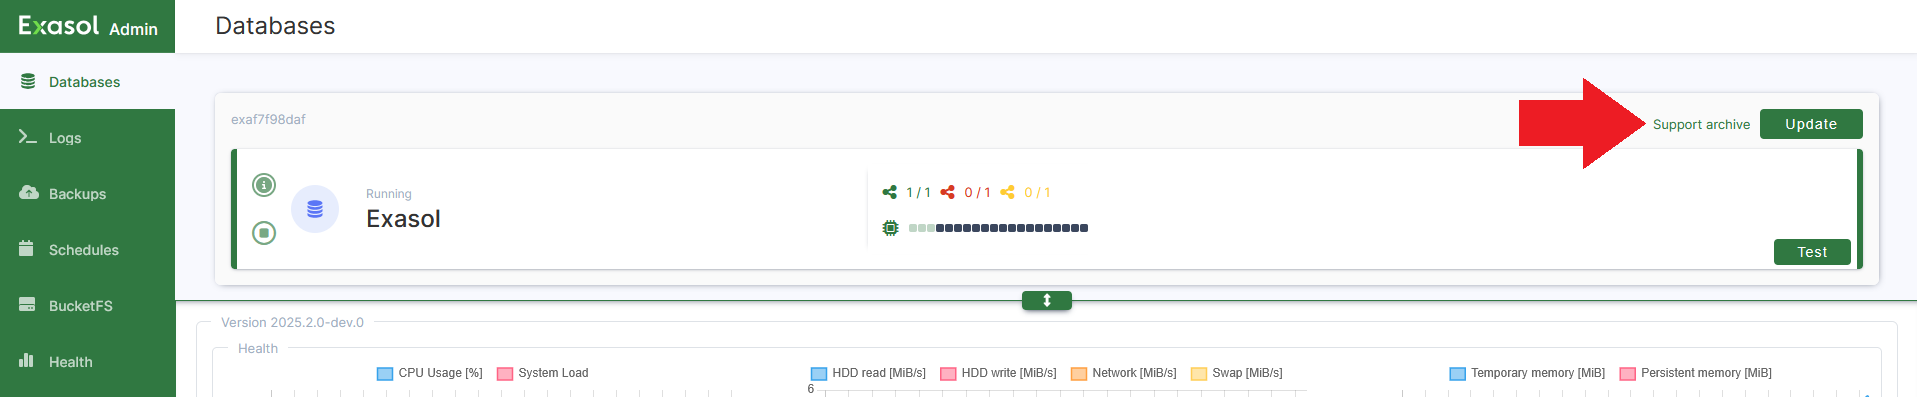
On the Databases page, click on Support archive.
-
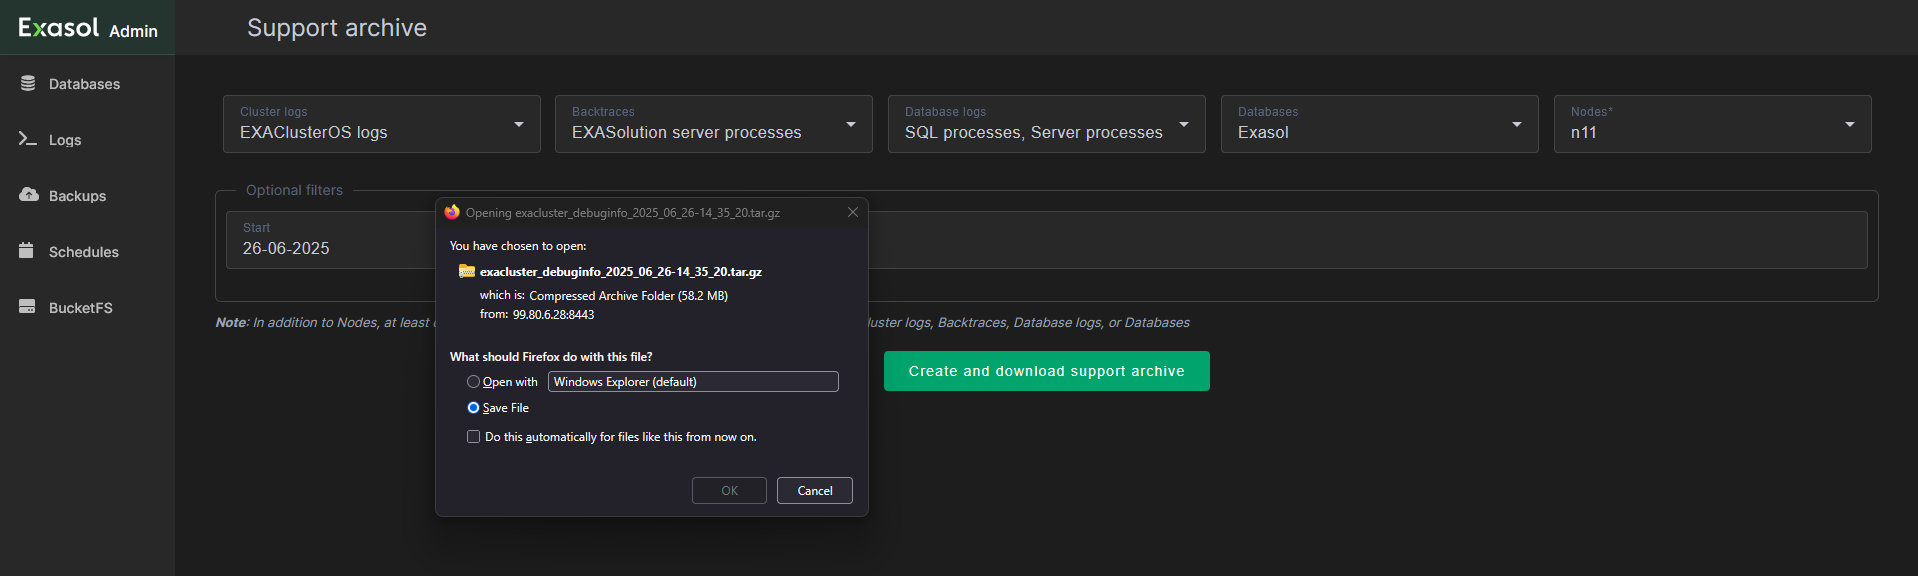
On the Support archive page, use the dropdown menus to select the logs and backtraces that you want to retrieve, and the databases and nodes to retrieve the information from. You must select at least one node and at least one of the following sources: Cluster logs, Backtraces, Database logs, or Databases.
To collect information about a specific SQL session, enter the session ID in Sessions.
To get the session ID, use EXA_ALL_SESSIONS or EXA_USER_SESSIONS.

-
Click on Create and download support archive.
Exasol Admin will generate the specified logs and create an archive in tarball format (*.tar.gz) that you can download.
System logs
In many cases the system logs for a specific node will also be required for troubleshooting. To collect system logs for a node, connect to the node over SSH and use sudo journalctl [filter]. If Exasol is installed with a non-root user, omit sudo.
For example, to retrieve system logs for the last 7 days and save the output to a file:
sudo journalctl --since "7 days ago" > node11_journalctllog.txt