Create the Exasol user
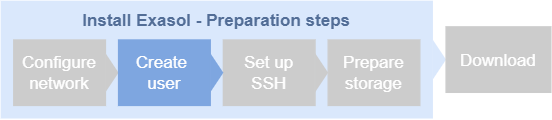
When you have configured the necessary network settings, the next step is to create a dedicated user for the Exasol software on each database host.
Create a user
In this step you will create a user that will install and run Exasol on the database hosts. The name of the Exasol user can be set freely but must be identical on all hosts. In the following examples, the user is called exasol
.
-
The user must have root privileges to be able to install and update Exasol. To install Exasol for a non-root user, additional configuration steps are required. For more information, see Rootless deployment.
-
The system shell must allow the user access over SSH.
-
The login shell for the user must be bash.
-
The user must have umask set to 0022 or less. For information about how to configure umask, refer to the documentation for the operating system.
Do not reuse a non-root user from a previous rootless install on the host for a rootful installation, or vice versa. User settings for rootless and rootful installations are incompatible, which means that the installation will then fail. Delete the old user and create a new one.
To create the user you must be logged in as root or as a user with sudo privileges. If you are logged in as root, omit sudo from the commands in the following examples.
-
Create the user
exasolwith a corresponding home directory in/home/user:Copysudo useradd -m exasol -
Add the user to the
sudoersgroup:Copysudo usermod -aG sudo exasol -
Assign a password for the user:
Copysudo passwd exasol -
Log out (or create a new session) and log in as the user
exasol
. -
Verify that the user has sudo privileges using
sudo whoami. The command should returnroot.Copysudo whoami
root -
Repeat steps 1 to 5 on each database host.