Manage files in BucketFS using Exasol Admin
Learn how to use the Exasol Admin UI to upload and manage files in BucketFS.
Prerequisites
Exasol Admin must be installed and enabled. For more information, see Exasol Admin.
Upload files
-
Log in to Exasol Admin and go to the BucketFS page.
-
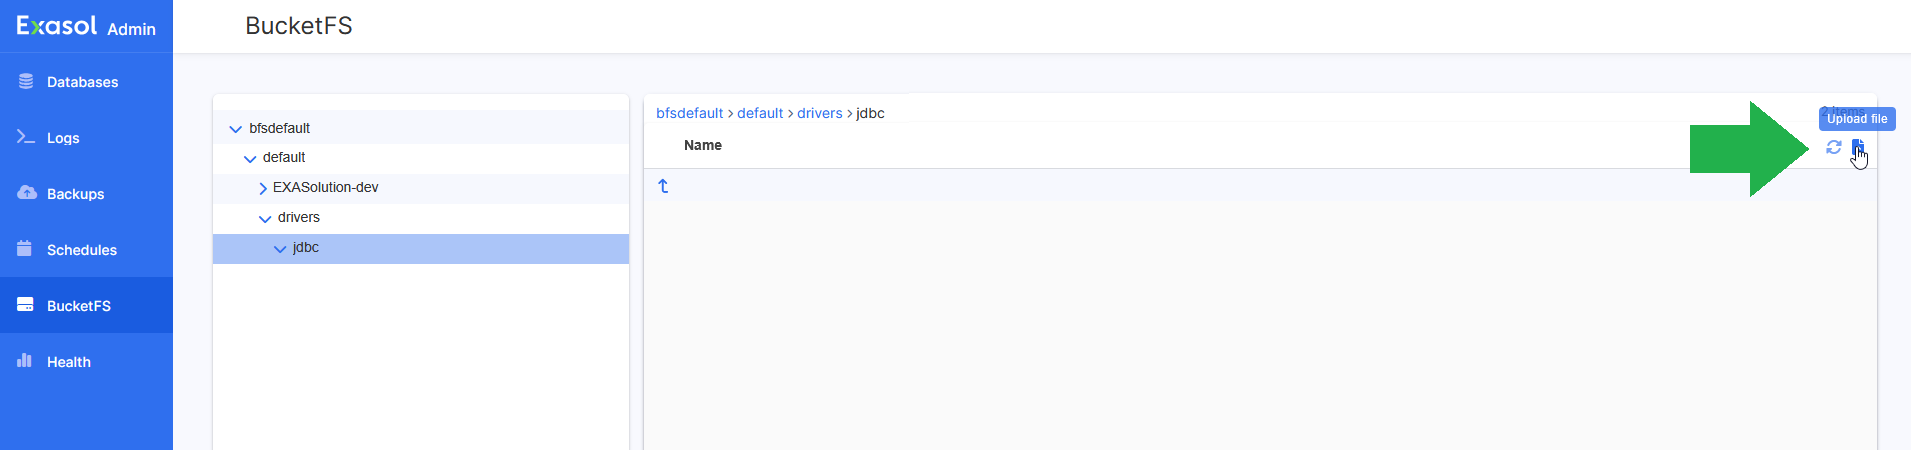
In the BucketFS folder tree, select the location where you want to upload the file, then click on the Upload file button .
-
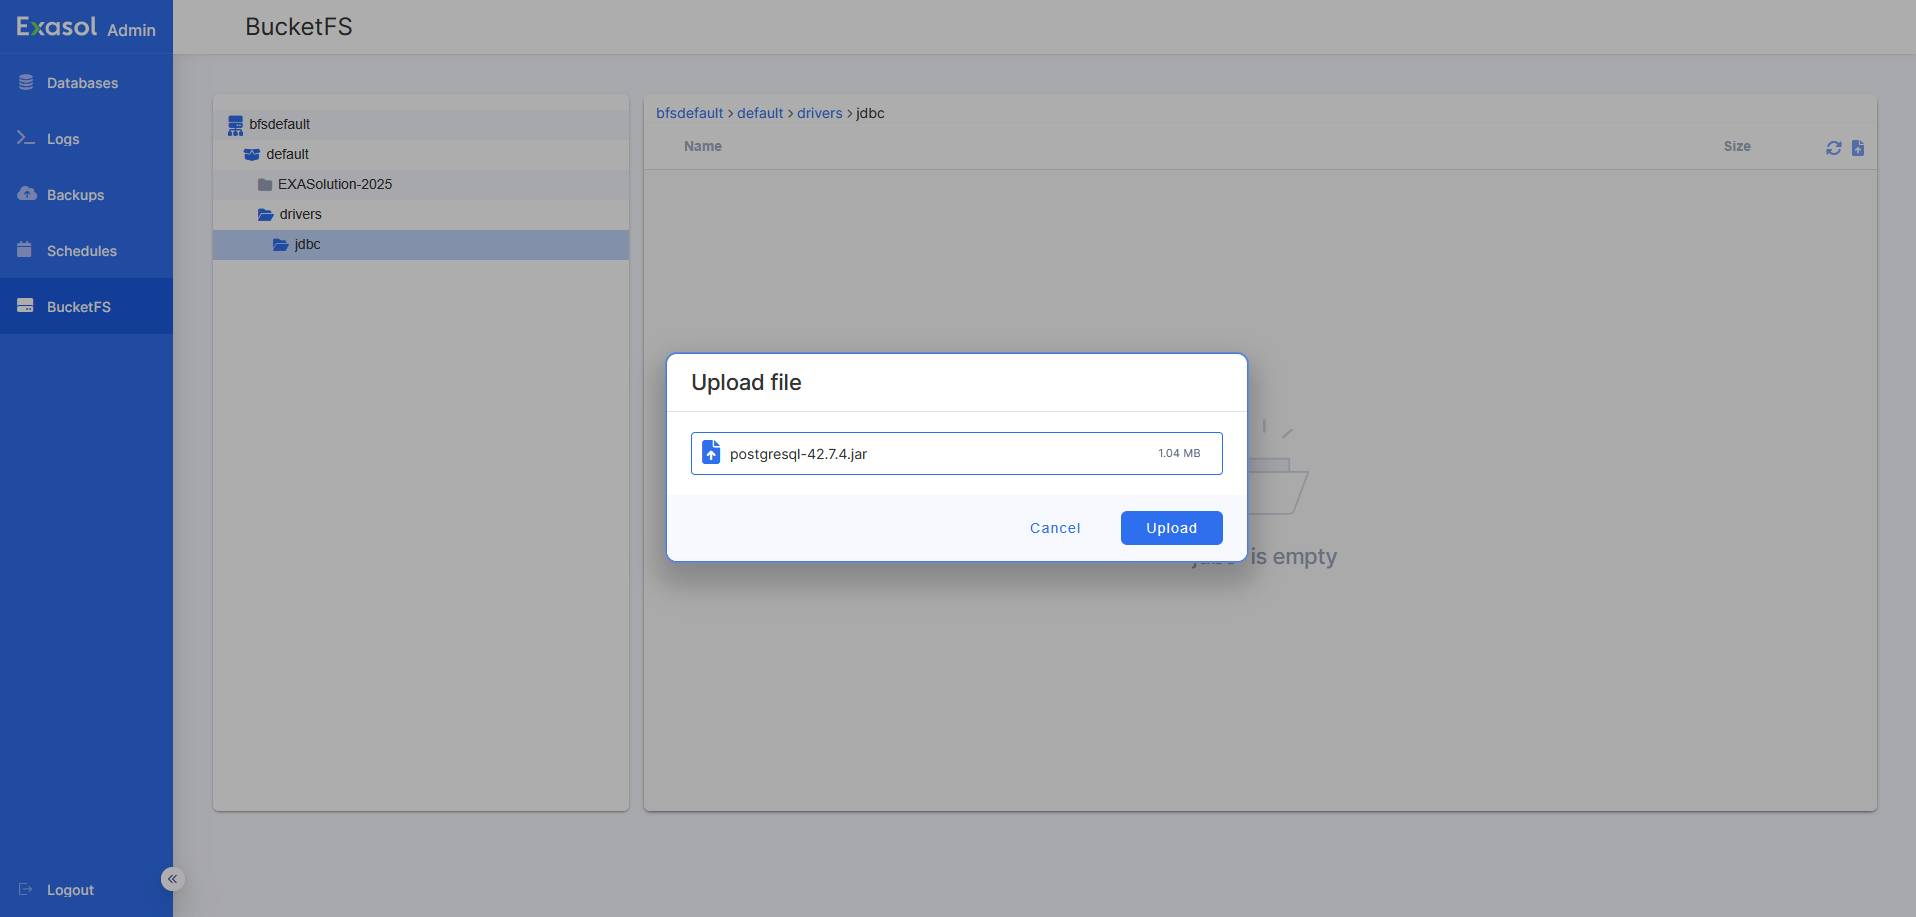
In the Upload file dialog, select the file that you want to upload.
You can create additional folder levels in the bucket by defining a sub-path in the second field. For example, Exasol will by default look for JDBC drivers in the folder
/bfsdefault/default/drivers/jdbc
.In Exasol 2025.2 and later you can define a sub-path in the Upload file dialog. In Exasol 2025.1 you must use a file transfer tool such as curl to create the folders in BucketFS.
-
To upload the file to the selected path, click on Upload.
-
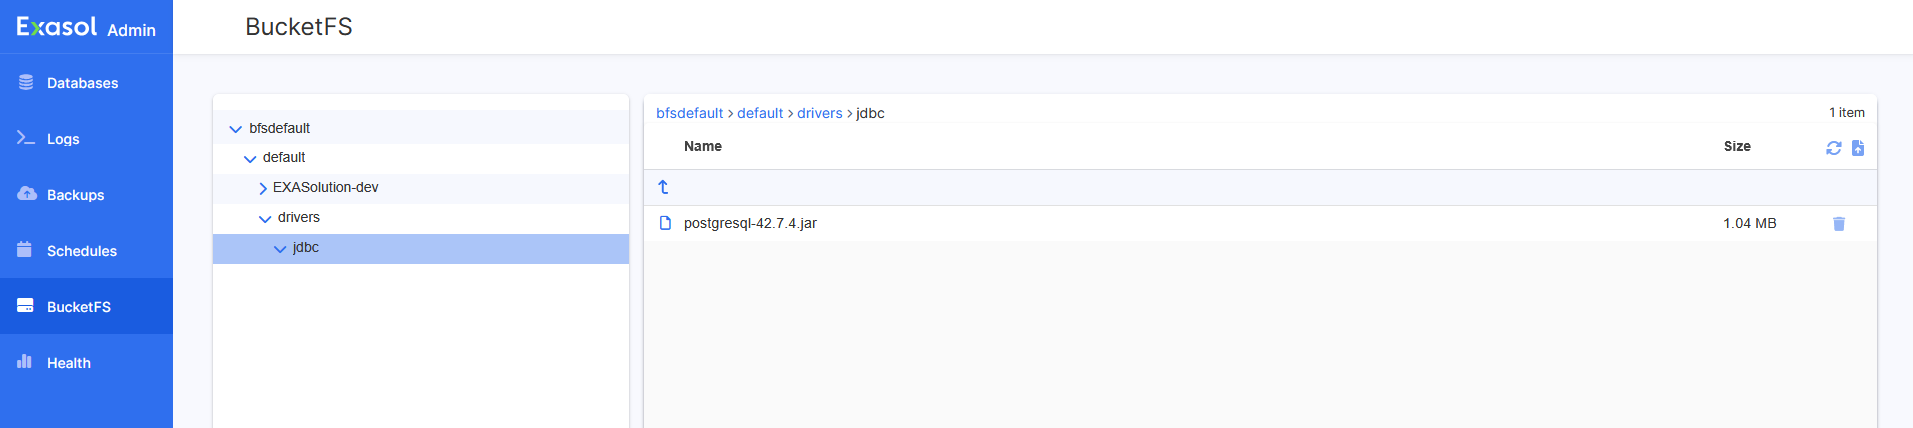
The file will be available in the file browser when the upload has completed. To refresh the view, click on the Refresh data button .
Download files
To download a file, click on the Download file button . In the dialog that opens, click on Save file to save the file to your local system.
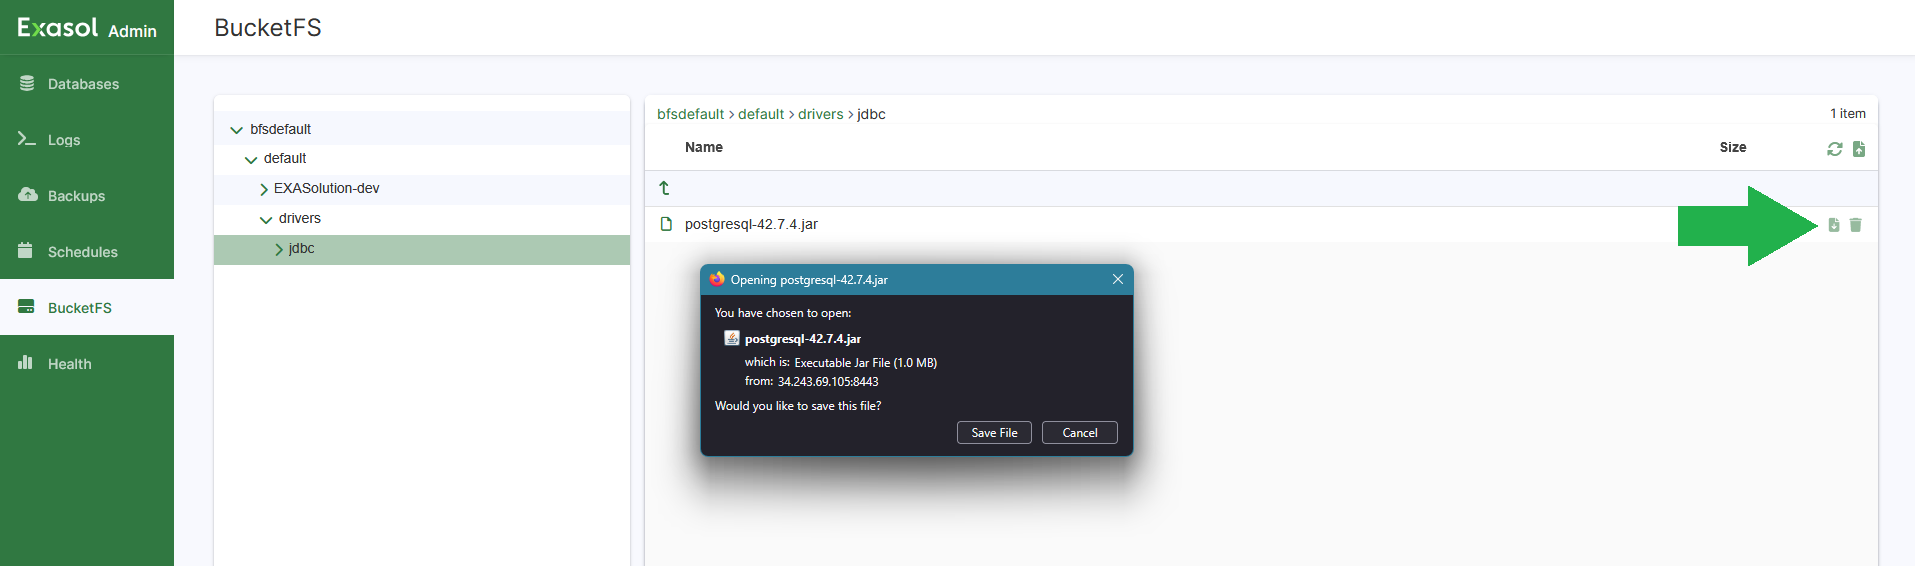
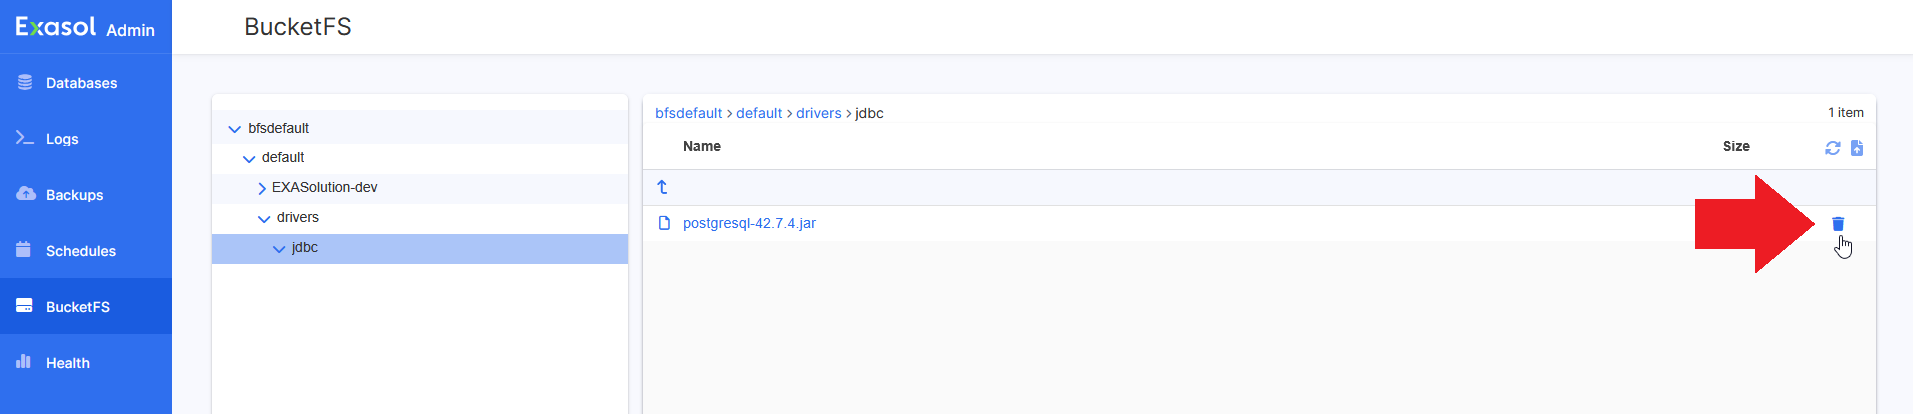
Delete files
To delete a file, click on the Delete file button . In the dialog that opens, click on Confirm to delete the file.
Sub-folders that were created when you uploaded the file will not be deleted. To delete a folder, you must use a HTTP client such as curl. For more information, see Manage files using curl.