Install the License Node
The first step after preparing the environment is to install the license node, also known as license server or management node. The license node enables the initial installation, configuration, and first boot of all other data nodes. After installing the license node you will be able to access EXAoperation in your web browser and proceed with the following steps in the installation process.
Prerequisites
- You have downloaded the Exasol ISO file from the Exasol Downloads page
- You have carried out the required Preparation steps
Procedure
Do the following to install the license node:
- Boot up the Exasol ISO image.
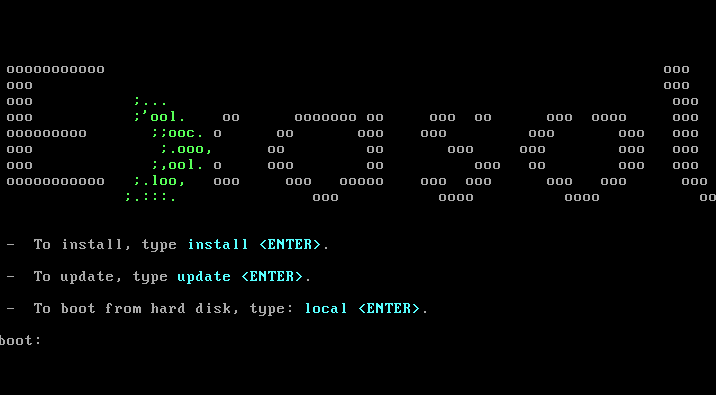
- At the command line prompt, type
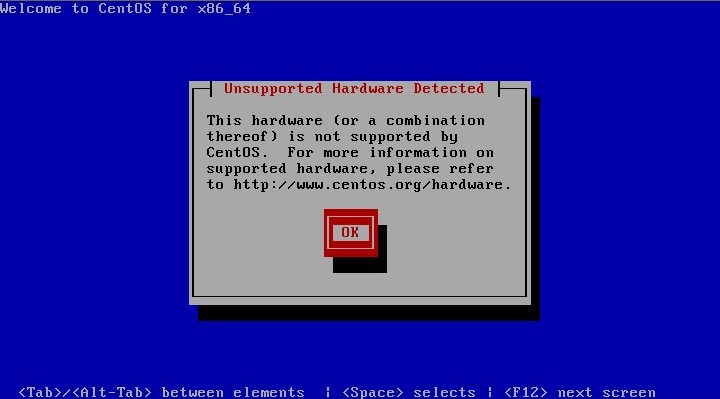
installand press ENTER. - Click on OK to acknowledge the unsupported hardware message (this is a CentOS message).
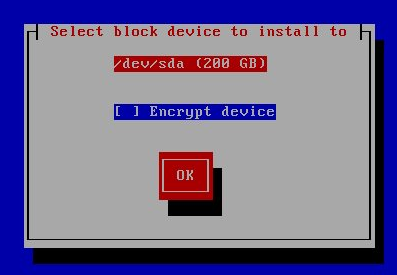
- Enter the hard drive to install to and click on OK to confirm.
Encrypting the device is optional but recommended. When Encrypt device is checked, you must provide a password for the disk when restarting the license server.
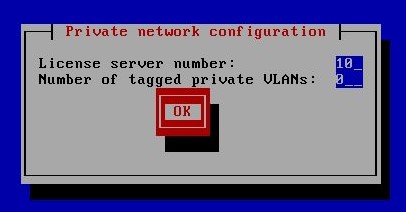
- If there are multiple private networks, enter the number of networks in Number of tagged private VLANs and click on OK.
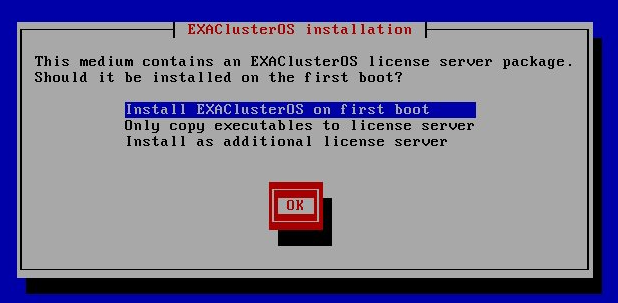
- Select Install EXACluster OS on first boot and select OK.
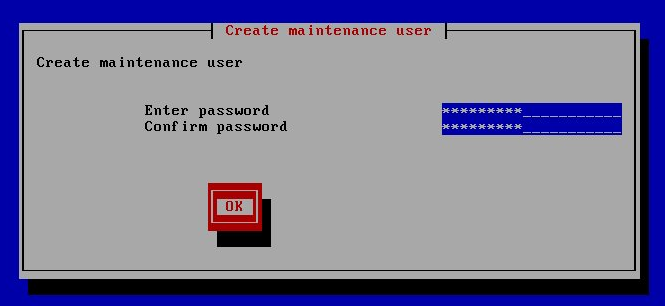
- Set a strong password for the maintenance user and click on OK.
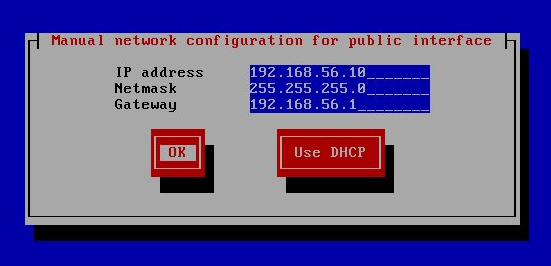
- Set the IP addresses of your network and click on OK (the IP address in the screenshot is an example).
- Check that the network information is correct and change it if necessary. Click on OK to continue.
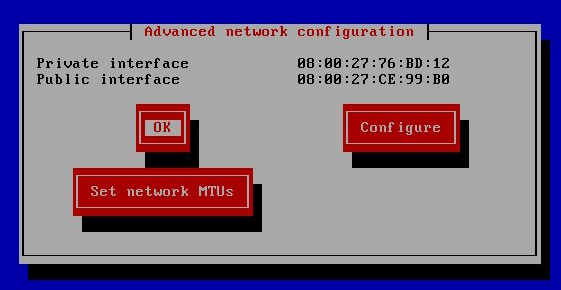
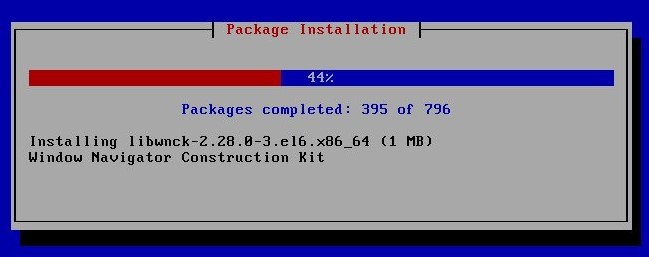
The installation process will now start. Once it has completed, the system will restart automatically.
- Boot up the system from the local hard drive.
Once you have completed these steps, you can get the IP address for the license node by logging in to the terminal (or over SSH) using the login name maintenance and the maintenance password you entered in the Create maintenance user dialog.