Installation Using Azure Resource Manager Template
As an advanced user, you can deploy an Exasol on Azure using the Azure Resource Manager (ARM) template. This section provides you with instructions on how to deploy Exasol on Azure using ARM templates.
Sizing Considerations
RAM
As a rule of thumb, the total amount of RAM of the cluster should be approximately 10% - 15% of your raw data. However, based on your use case, you may need more RAM.
Instance
Exasol recommends Dsv3, Esv3, and Fsv2 category instances with more than 16 GiB of memory.
Example
If your raw data (uncompressed) size is 300 GiB one of the following instances will be a good choice for you:
- Standard_D8s_v3 with 8 CPUs, 32 GiB RAM
- Standard_E8s_v3 with 8 CPUs, 64 GiB RAM
- Standard_F16s_v2 with 16 CPUs, 32 GiB RAM
Storage
Exasol recommends Premium SSD for data storage and Azure Blob Storage for data backup. The data storage volumes should be properly sized to store the maximum recommended amount of data for this instance type, data replicas in case of a cluster configuration as well as index structures and space for temporary data.
The template configures the correct storage configuration for every instance type.
Deployment Steps
Step 1: Create Azure Portal Account
If you do not have an Azure account, create one at https://azure.microsoft.com/en-us/free/.
If you already have an Azure account, skip to Step 2.
Step 2: Download ARM Template
Based on your requirement, download the ARM templates from one of the following locations:
- Exasol Single Node with new VNet
- Exasol Single Node with existing VNet
- Exasol Cluster with new VNet
- Exasol Cluster with existing VNet
Step 2: Upload Template into Azure Portal
After you download the template, do the following on the Azure Portal:
- Log in to Azure Portal and click Create a resource in the sidebar.

- Search for
template deploymentin the search bar and select Template deployment (deploy using custom templates) from the result.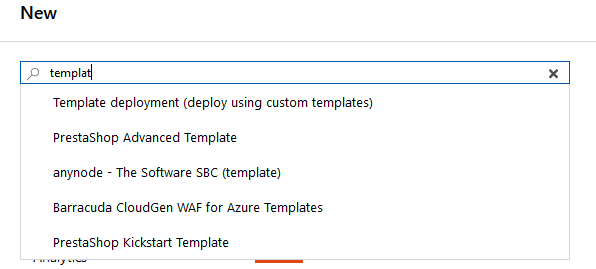
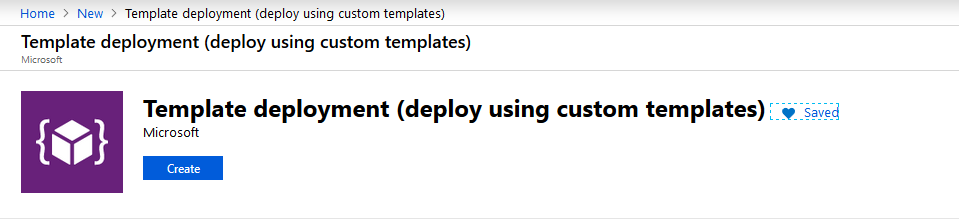
- On the Template deployment (deploy using custom templates) page, click Create.
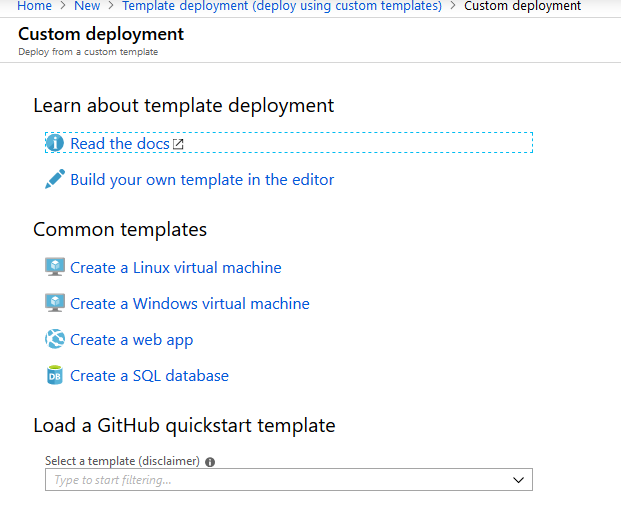
- On the Custom deployment page, click Build your own template in the editor.
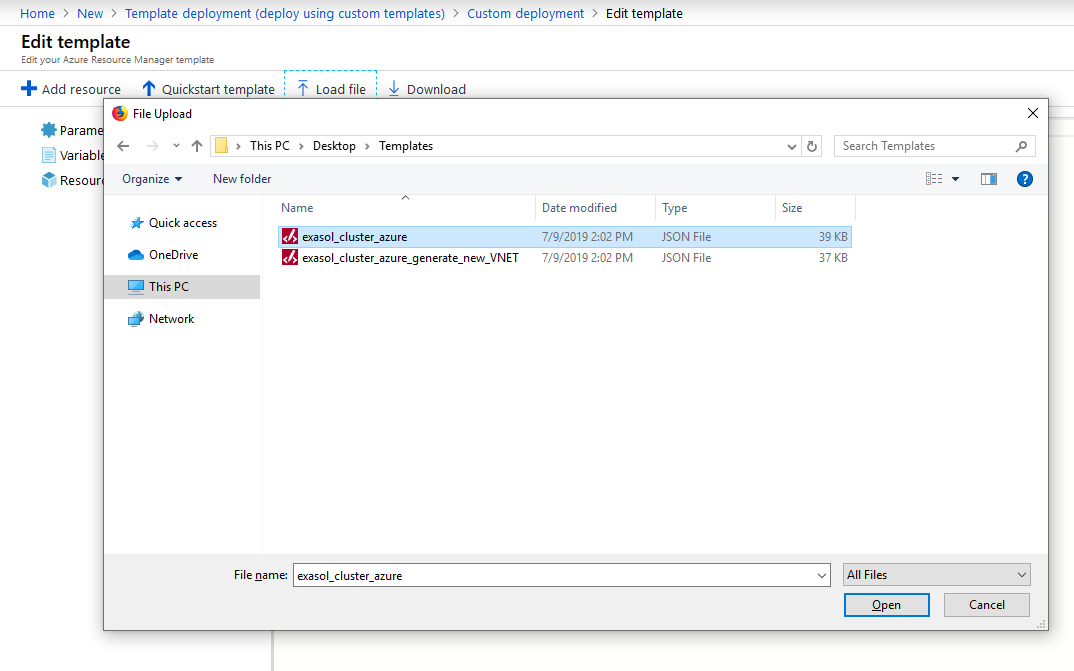
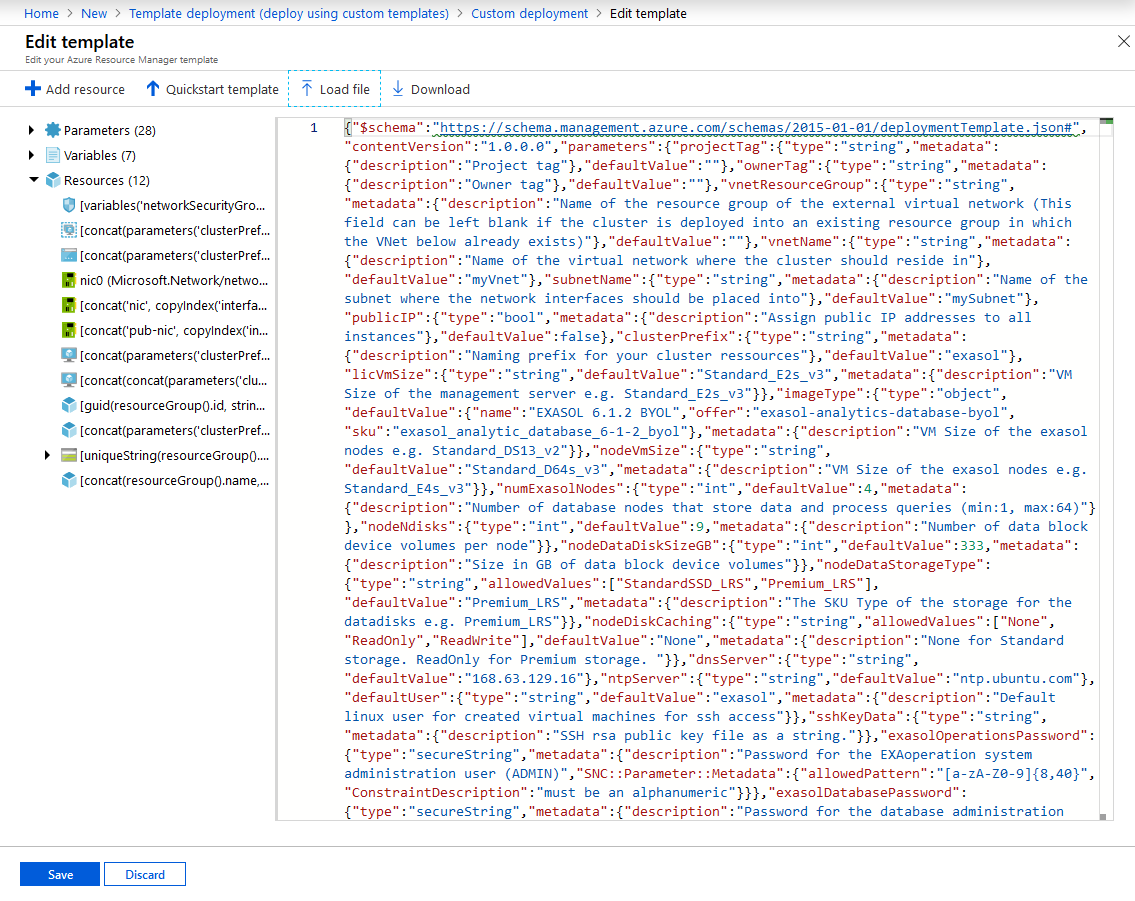
- On the Edit template page, click Load file to load the downloaded template.
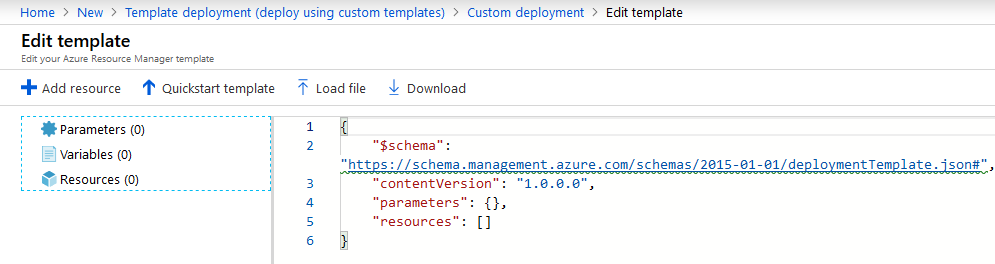
You can also paste the content of the template here and skip to step 7.
- Upload the downloaded template.
- Click Save to save the template and continue.
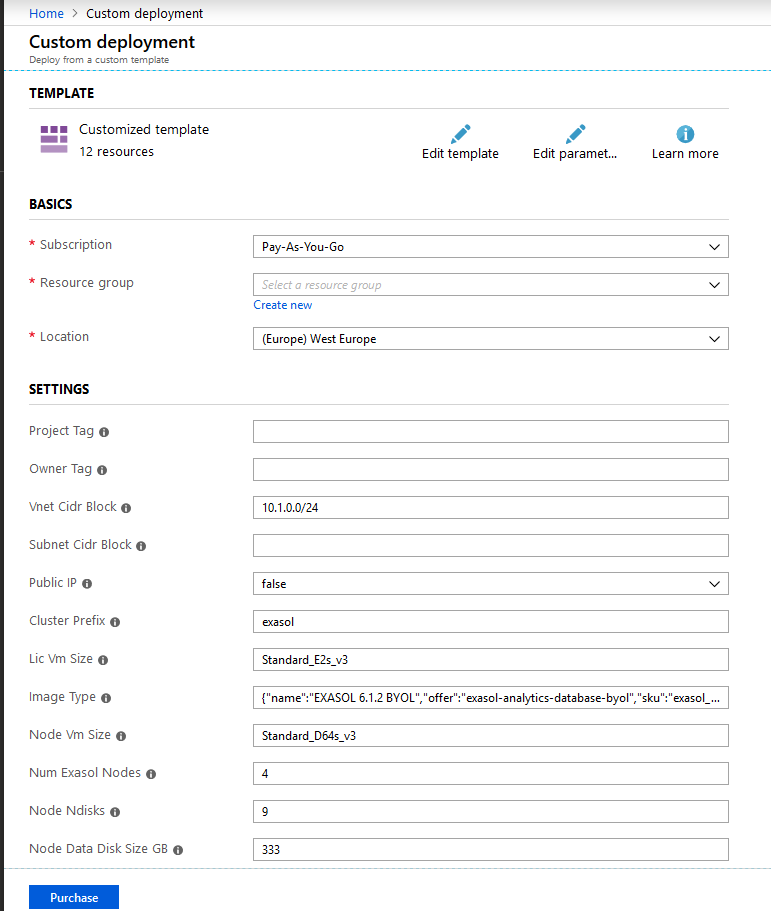
- You can further modify the template parameters on the Custom deployment page.
After making the changes, click Purchase and provide further details (payment and so on).
Launch Instance
Once the instance is in running state, you can connect to it using the IP address or the DNS name displayed in the console. To launch the instance, follow these steps:
- Copy and paste the IP address or the DNS name of the instance in a browser.
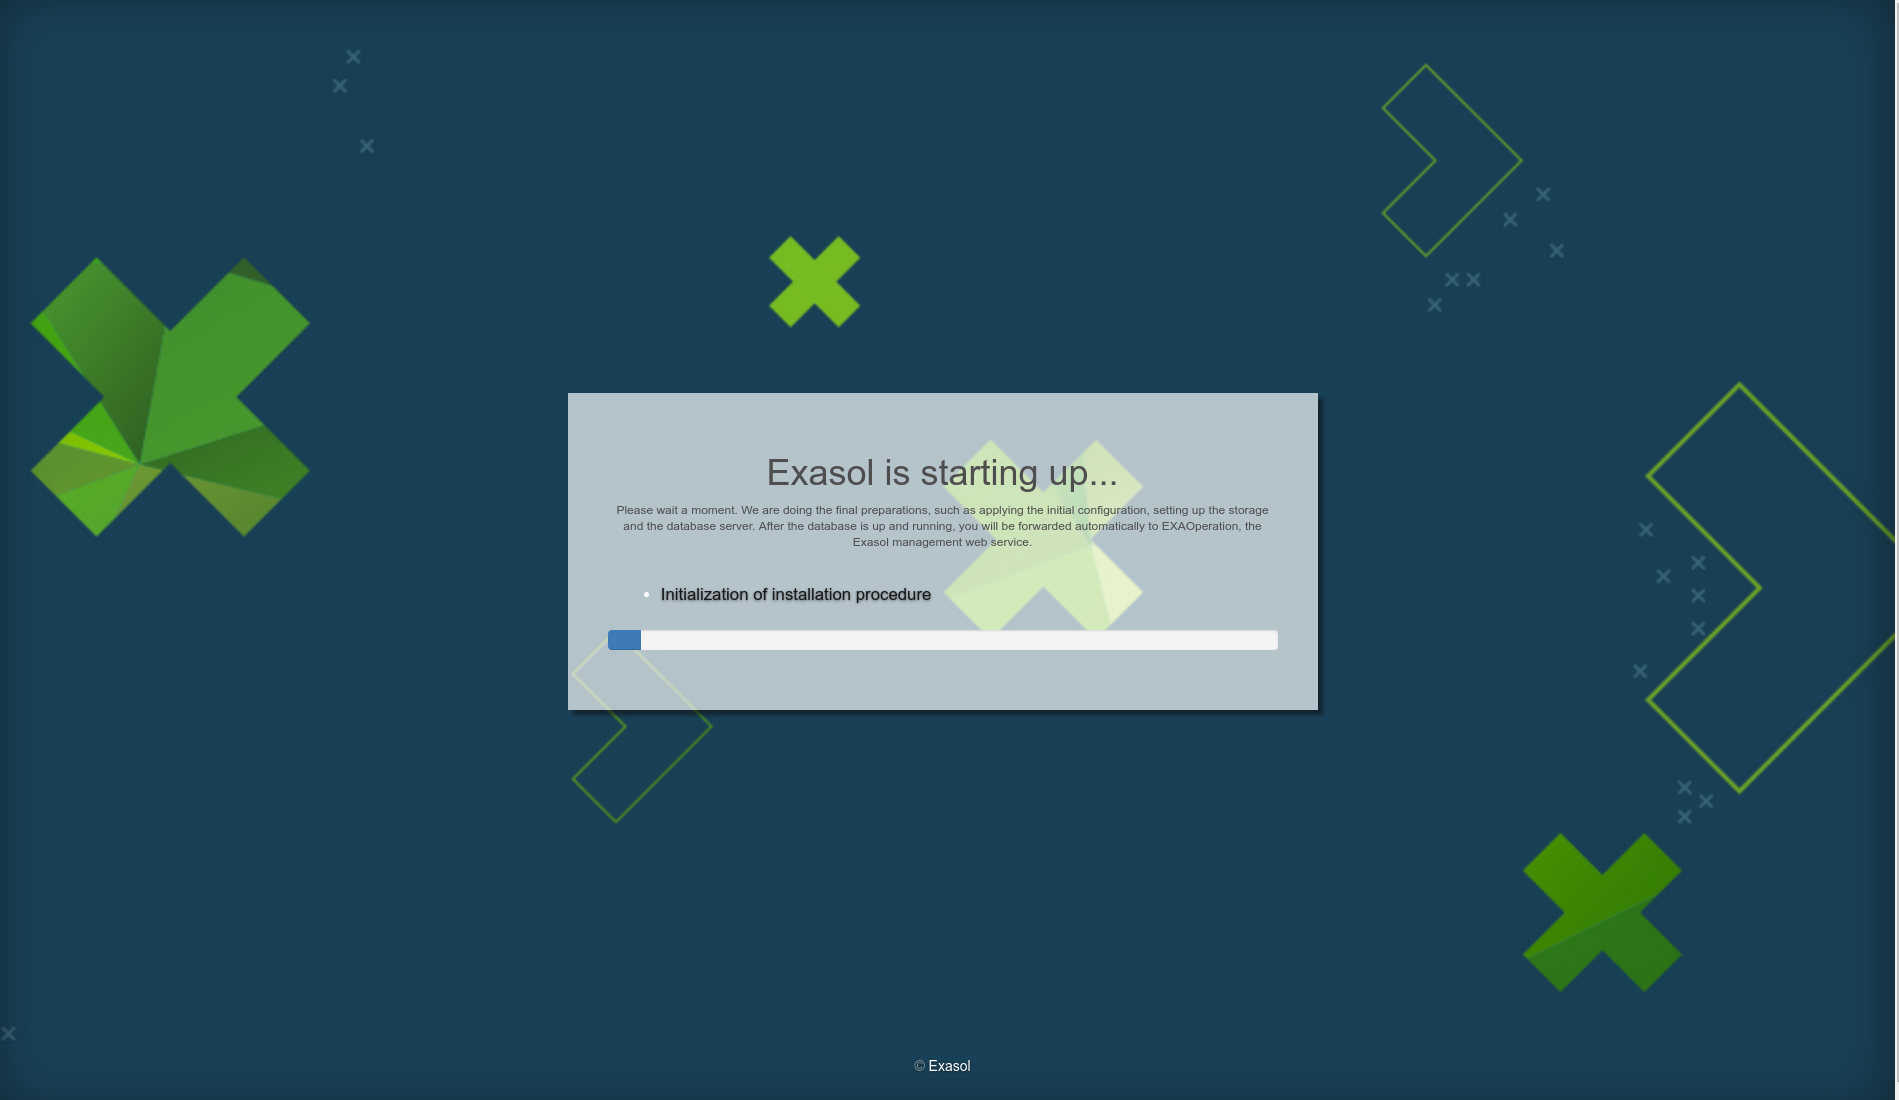
- You will receive a digital certificate to confirm. Once you have confirmed this, the installation is initialized, and the following screen is displayed.
- Once installation is complete, you will be redirected to the EXAoperation screen.
It may take up to 45 minutes for the EXAoperation to be online after deployment.
Template Parameters
The following table lists the parameters used in the templates and their descriptions.
| Parameter | Description |
|---|---|
| Subscription | Use subscriptions to manage costs and creation of resource by users, teams, projects |
| Resource group | Create a new or choose an existing resource group |
| Location | Edge location where to deploy the cluster |
| VNet Resource group | Name of the resource group of the external virtual network (This field can be left blank if the cluster is deployed into an existing resource group in which the VNet below already exists, not available if new VNet/Subnet is created) |
| VNet Name/ VNet CIDR Block | Name of the virtual network that shall be used or CIDR Block (depending on the template ) |
| Subnet Name/ Subnet CIDR Block | Name of the subnet that shall be used or CIDR Block (depending on the template) |
| Public IP | If set to true, public IP addresses are assigned to all instances |
| Cluster Prefix | Set a prefix tag for every resource |
| License Server VM Size | Virtual machine size of the license server |
| Image Type | Chose the VM Image from the marketplace |
| Node VM Size | Virtual machine size of the data nodes |
| Number Exasol Nodes | Number of cluster data nodes |
| Node Ndisks | Number of storage volumes for each node |
| Node OS Disk Size GiB | Device size for OS volume |
| Node Data Disk Size GiB | Devices size for data volume |
| Node Data Storage Type | Device type for data volume |
| Number of Data Nodes | Number of cluster nodes |
| Node Disk Caching | Select caching behavior ["None", "ReadOnly", "ReadWrite"] |
| DNS Server | 168.63.129.16 for the Azure internal DNS Server |
| NTP Server | For example, ntp.ubuntu.com |
| Default User | Default user for the created virtual machines for ssh access |
| SSH Key Data | RSA public key for ssh access |
| Exasol Operations Password | Password for the EXAoperation admin user) |
| Exasol Database Password | Password for the exasol database admin user (Exasol 'sys' user) |
| Timezone | Required timezone for the DB (default Europe/Berlin) |
| Database Standby Nodes |
Specifies the number of standby node(s) that you want to add for failover. The replication factor is automatically set to two if there is more than one node in the system. You can implement any of the following two standby modes:
To learn more about how these standby modes work, see Fail safety (cloud). |
| Database Name | Name of the generated database |
| License Server IP | IP address of the License Server (Data Nodes IP are counting upwards from this one) |
| First Data Node IP | Counting upwards for the IPs of the data nodes (FirstDataNodeIP > LicenceServerIP) |
| Security Group Access | Restrict access to specific ip addresses (0.0.0.0/0 results in access from everywhere) |
| License | In case of a BYOL image an already acquired license can be pasted here as string |
Next Steps
Connect to Exasol
After installing Exasol on Azure, you can do the following:
- Install drivers required to connect to other tools.
- Connect SQL clients to Exasol.
- Connect Business Intelligence tools (BI tools) to Exasol.
- Connect Data Integration - ETL tool to Exasol.
- Connect Data Warehouse Automation tools to Exasol.
Load Data
After you have connected your choice of tool to Exasol, you can load your data into Exasol and process further. To learn more about loading data into Exasol, see Loading Data.
Administration
For the maintenance tasks related to Exasol on Azure, see Administration (Azure).